Table of Contents
Fixture Creator – SwitchPack tutorial
Switch Packs comes in many combinations from one switch to boxes with multiple switches.
Common is that they only have an on and an off value.
There are many approaches to a fixture for switch packs.
Single channel generic fixture with one on and off button.
If this has to be used with a multiple switch pack then the same fixture has to be placed multiple times on adjacent addresses in FreeStyler.
Here it is necessary to add the number of fixtures that fits the switch pack to occupy the addresses.
Multiple channel generic fixture.
All switches are in one fixture but if they are used for different purpose it can be a bit difficult to remember what they are used for.
User defined fixture.
Is the same as above but just with a picture of the fixture that they actually are used to control.
In this example a “user defined” fixture with a 4 channel switch pack will be shown.
Before starting to make the fixture there are some thing that are to be prepared.
Find a Fixture picture.
See Link Fixture Creator - Before making a fixture.
See Link Fixture Creator - Pictures and Icons
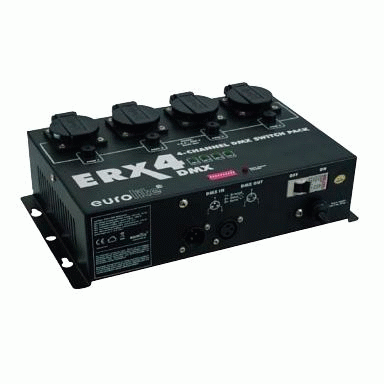
Open Fixture Creator
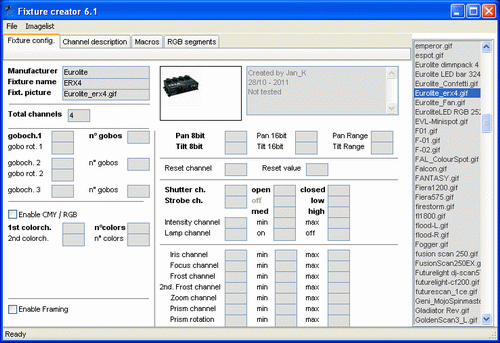
Open “Fixture Creator” in Other mode.

Add manufacture name (Remember to spell correct), give the fixture a proper name, add picture and fill in info in the text box.
Set the total channels to 4, in this case the fixture occupies 4 DMX channel.
Macro
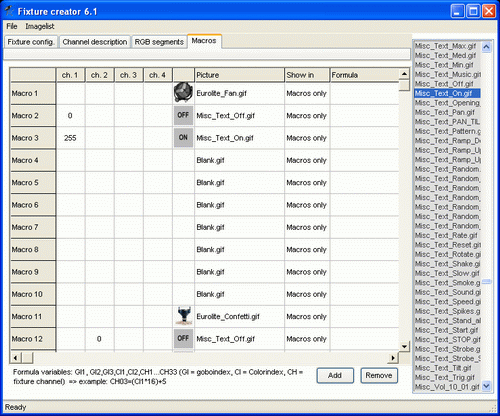
In the “Macro” tab on and off values and icons are added.
For the fun of it, here a Icon of the fixture that are to be controlled are placed as the first icon.
It has no value and only makes an icon in the panel.
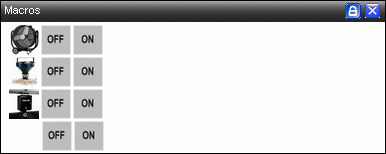
Also some blank icons are placed between the next set of switches. This is to make spaces in the control panel. For each to on / off icons a new row are started See the Macro Panel bellow.
Link to Fixture Creator - Macro Configuration
Remember to save the fixture follow the name convention.Fixture Creator - File Name Convention
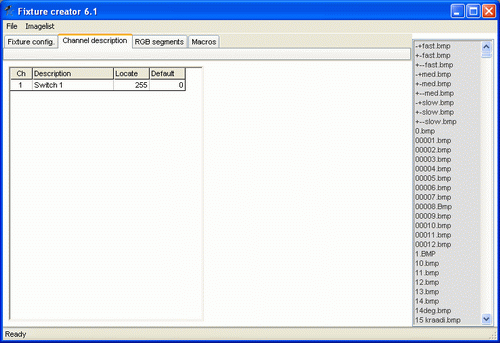
Channel Description.
It may look like a minor thing to enter the Channel description and the default and locate value but this is what makes the fixture proff.
Link to Fixture Creator - Channel Description
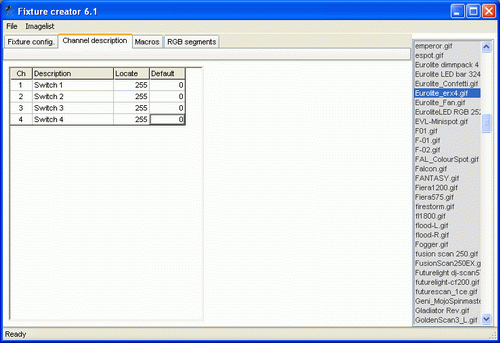
Remember to save the fixture follow the name convention. Fixture Creator - File Name Convention
Link to http://www.freestylersupport.com/wiki/extrafiles/Eurolite_ERX4.pff
Macro Panel
Single Fixture
The fixture above has a image the don’t tell what it is used for. As an alternative a fixture the only has one channel can be made but in this case 4 fixtures has to be placed on adjacent channels so the correct no of channels are occupied.
Here is a one channel fixture that control a confetti fan. The panel looks like above but just occupy one address.
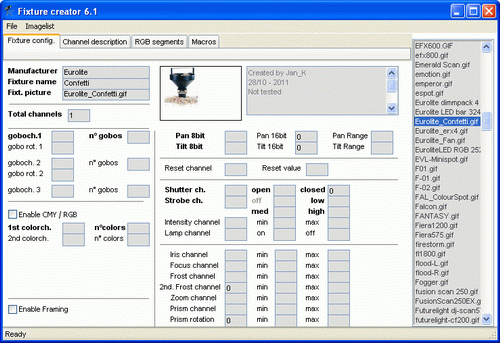
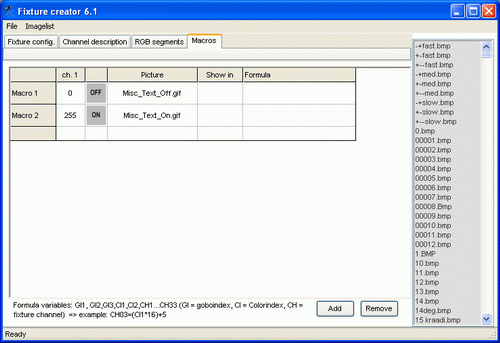
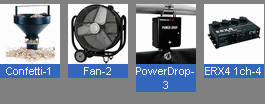
Here are 4 single channel fixtures.
http://www.freestylersupport.com/wiki/extrafiles/Eurolite_Confetti.pff
http://www.freestylersupport.com/wiki/extrafiles/Eurolite_Fan.pff
http://www.freestylersupport.com/wiki/extrafiles/MagicFX_PowerDrop.pff
http://www.freestylersupport.com/wiki/extrafiles/Eurolite_1ch_switch.pff
Macro Panel
Practical use of the single channel fixture.
When single fixture are used combine with a multiple switch pack, it is important to place the single fixtures on adjacent channels and to occupy / reserve all addresses that the switch pack uses.
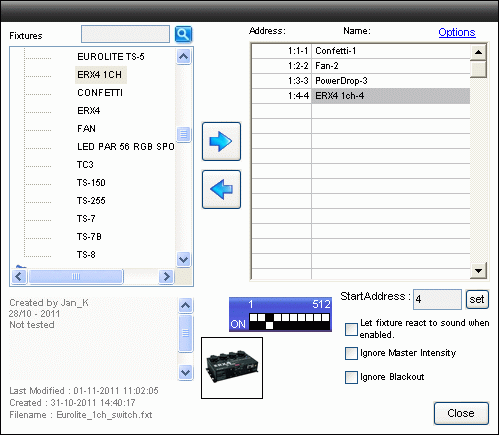
Here a dummy fixture are placed as fixture 4 as address holder so all 4 addresses are occupied.
In FreeStyler all 4 single fixtures are placed.
As it can be seen here the fixture images tells more about the than the multipack fixture but are more critical to add where the multipack in one fixture occupy all 4 addresses.
