Matrix Sequence.
The matrix is selected to give an idea of the LedTrix plugin and to show some simple sequence programming.
It has been tested in practice with some KAM led strip fixture size 8×1. There are 6 fixtures placed next to each other forming a matrix 8 high and 6 wide.
Scroll text.
The LedTrix has a text feature but unfortunately there is a minor bug in the size so it doesn’t fit the text to a size 8.
So to overcome this bug a sequence is made which also gives the possibility to demonstrate that both LedTrix and cue can control the same fixtures.
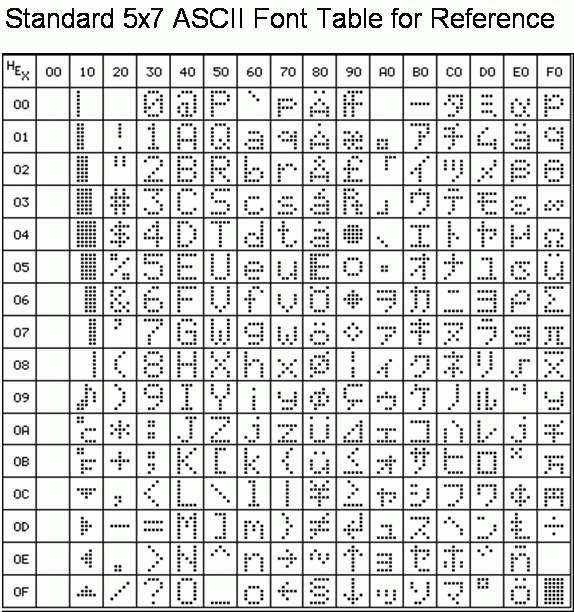
As template a list of char from an old dot matrix printer was found on the net.
Note: This has nothing to do the LedTrix but is a pure sequence building.
The first text is a red FLYNIGHT starting and ending with a total black matrix.
Create the sequences.
Open the “Sequence editor”.
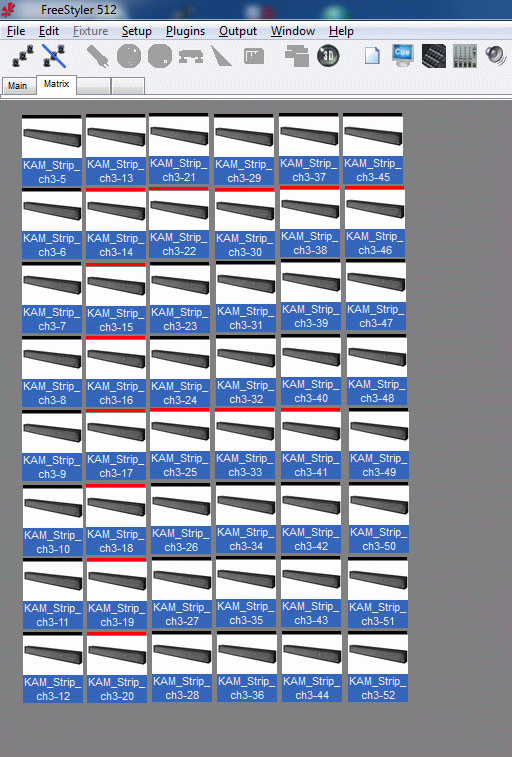
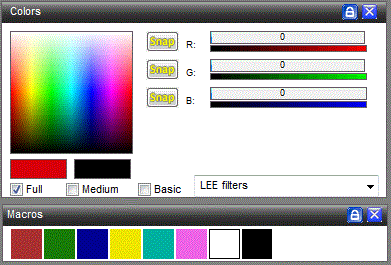
Select all matrix fixtures and set the RGB colors to 0 eventually by using the black macro.
See that all 3 color faders are “Fade” or “Snap”. (Here “Snap” is used)
The matrix fixtures are now in a known “start” state. No light.
Start adding the first colon in the letter F and shift it one colon at the time.
Be patient there are many steps and thereby many fixtures that has to be selected / deselected, turned on / off and it takes time.

Note: At a certain time the limit of 45 steps are reached and to have the rest of the text in the sequence the numbers of steps has to be increased.
Here 49 steps in total are needed so in the “FreeStyler.ini” this number is increased to 50.
See Sequences for more info on step limit in init file. Troubleshooting Sequences
Save the Sequence.
Here it is saved in a subfolder named \FreeStyler\Chases\Wiki\MATRIX so matrix sequences can be kept together.
Additional texts like DANCE and a count down from 9 to 0 in 1 sec steps has been created. Unfortunately with this small matrix it is not possible to make a decent “10”
Also two smiley’s, some sequences Color_rain, Red_rain, Red_Green_Blue and a 7_Color_All has been made.
They are all made by switching on and off the colors in each point of the matrix.
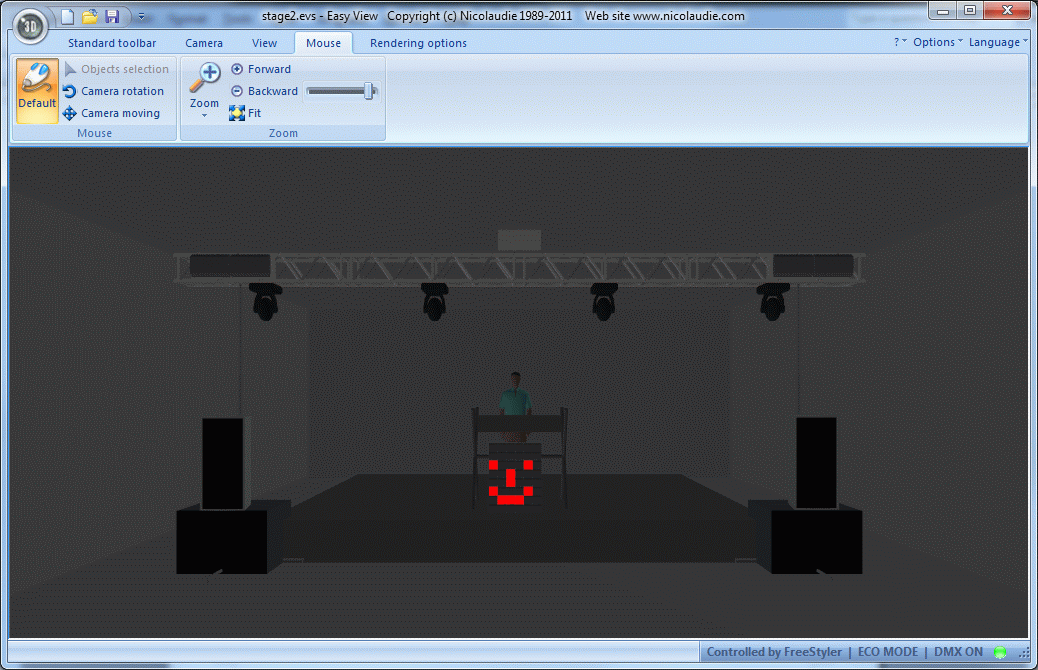
They are not described here but are included in the packaged and can be selected in the sub master control and viewed in the 3D easy view.
Create the Cue
When the sequences has been made then open “Cue editor” insert all the sequences one by one.
Before saving the cue some of the settings are changed.
Here the speed for scroll text is increased so it looks like a moving text and like a stepping text.
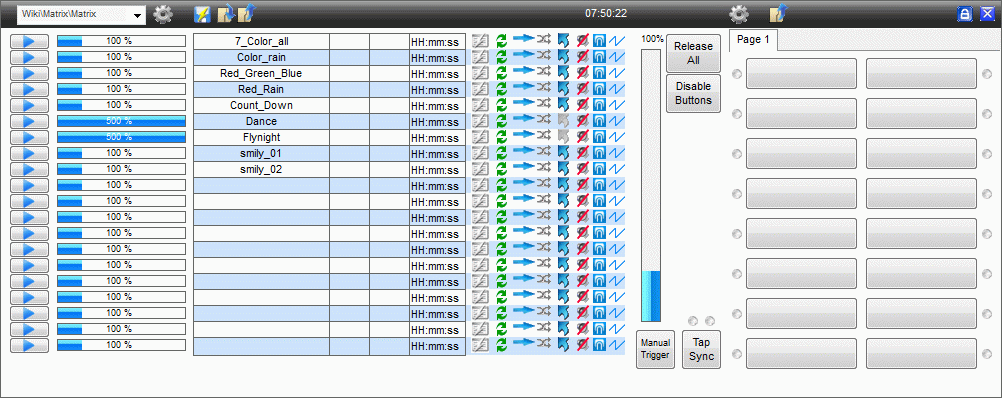
Then save the cue.
In this example it is named \FreeStyler\Cues\Wiki\Matrix\Matrix.fcf.
After saving the panel clear the cue list.
Sub Master.
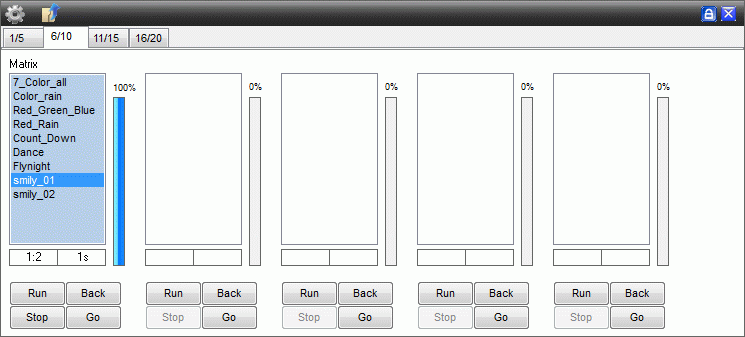
Open “Sub Master”.
Add the cue to the “Sub Master” and it is ready to run.
Here the cue is added to “Sub Master” 6 to demonstrate that when sequence is selected from this list then it goes into the cue panel as position 6.
Remember to adjust the intensity for “Sub Master” to 100% to turn it on.
Note that it actually is used as intensity in this case and therefore can be used to dim the light though the sequence is made with full light.
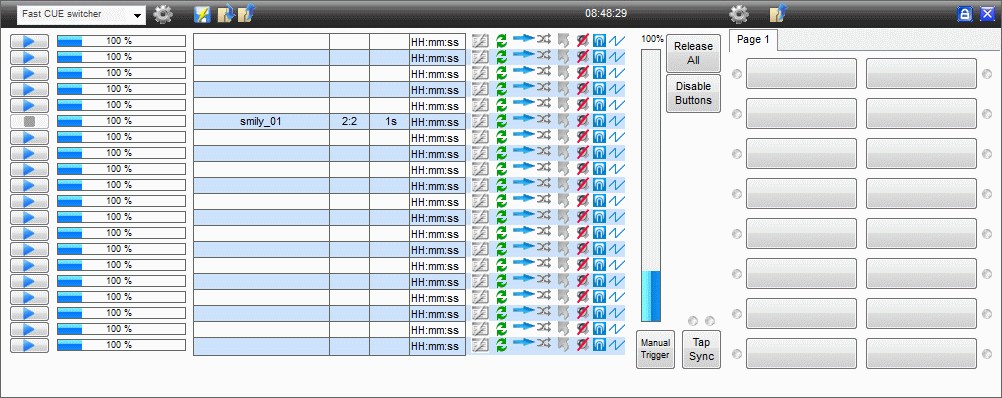
Only one thing to say “Play”
Files used in this tutorial.
The sequences and the cue created in this tutorial are packed in this zip file with path.
They are to be unpacked so the files are place as described in the tutorial.
freestyler_matrix.zip
When they are placed correct then the cue file are manually to be added to Sub master 6 as described above.
